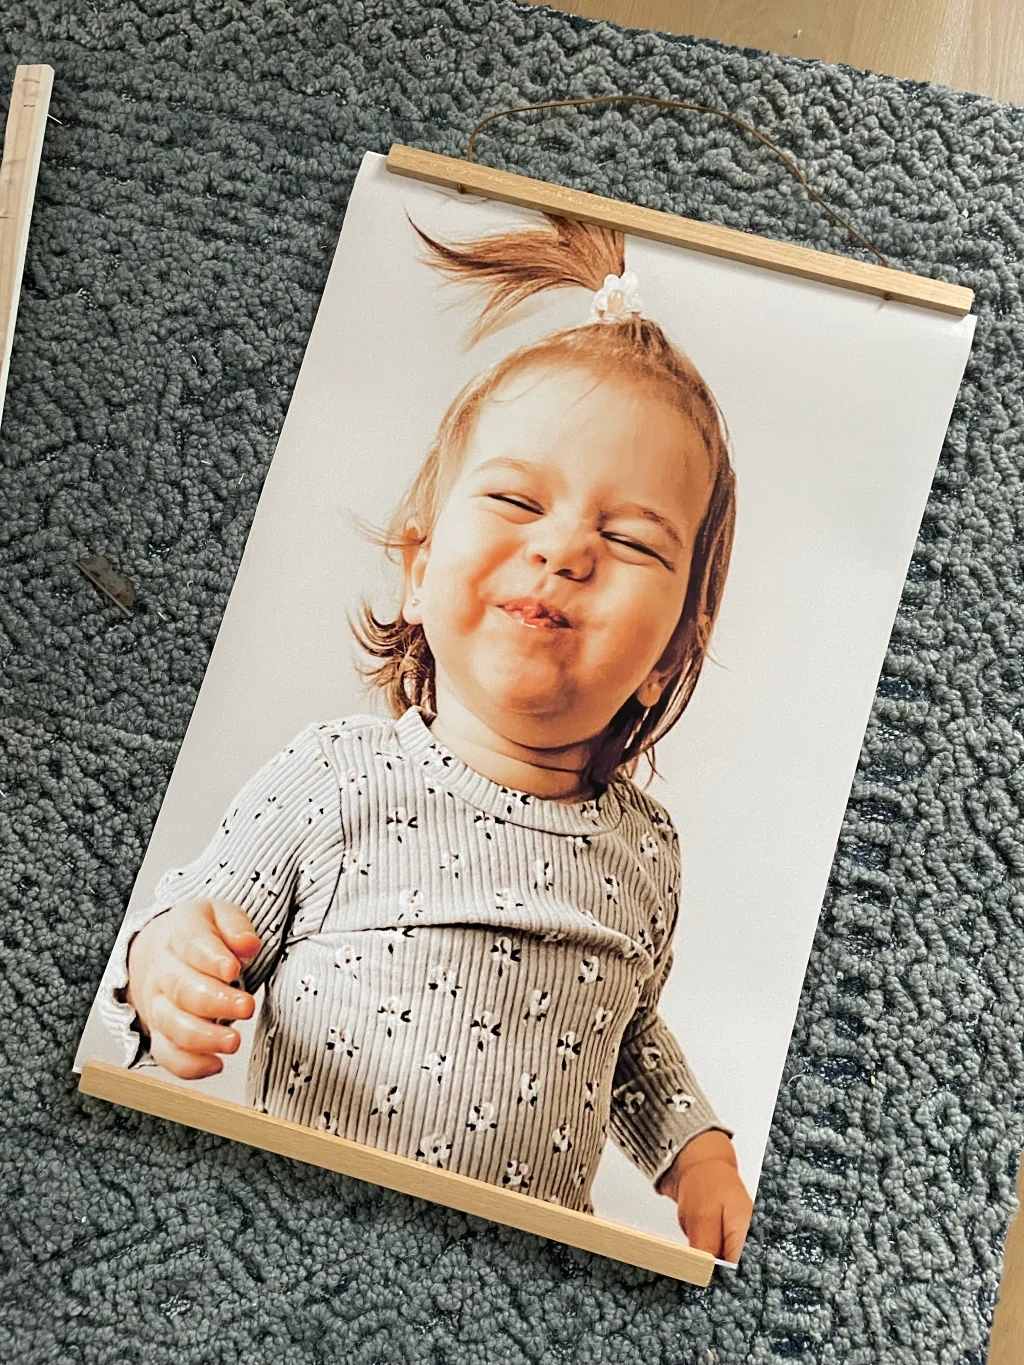
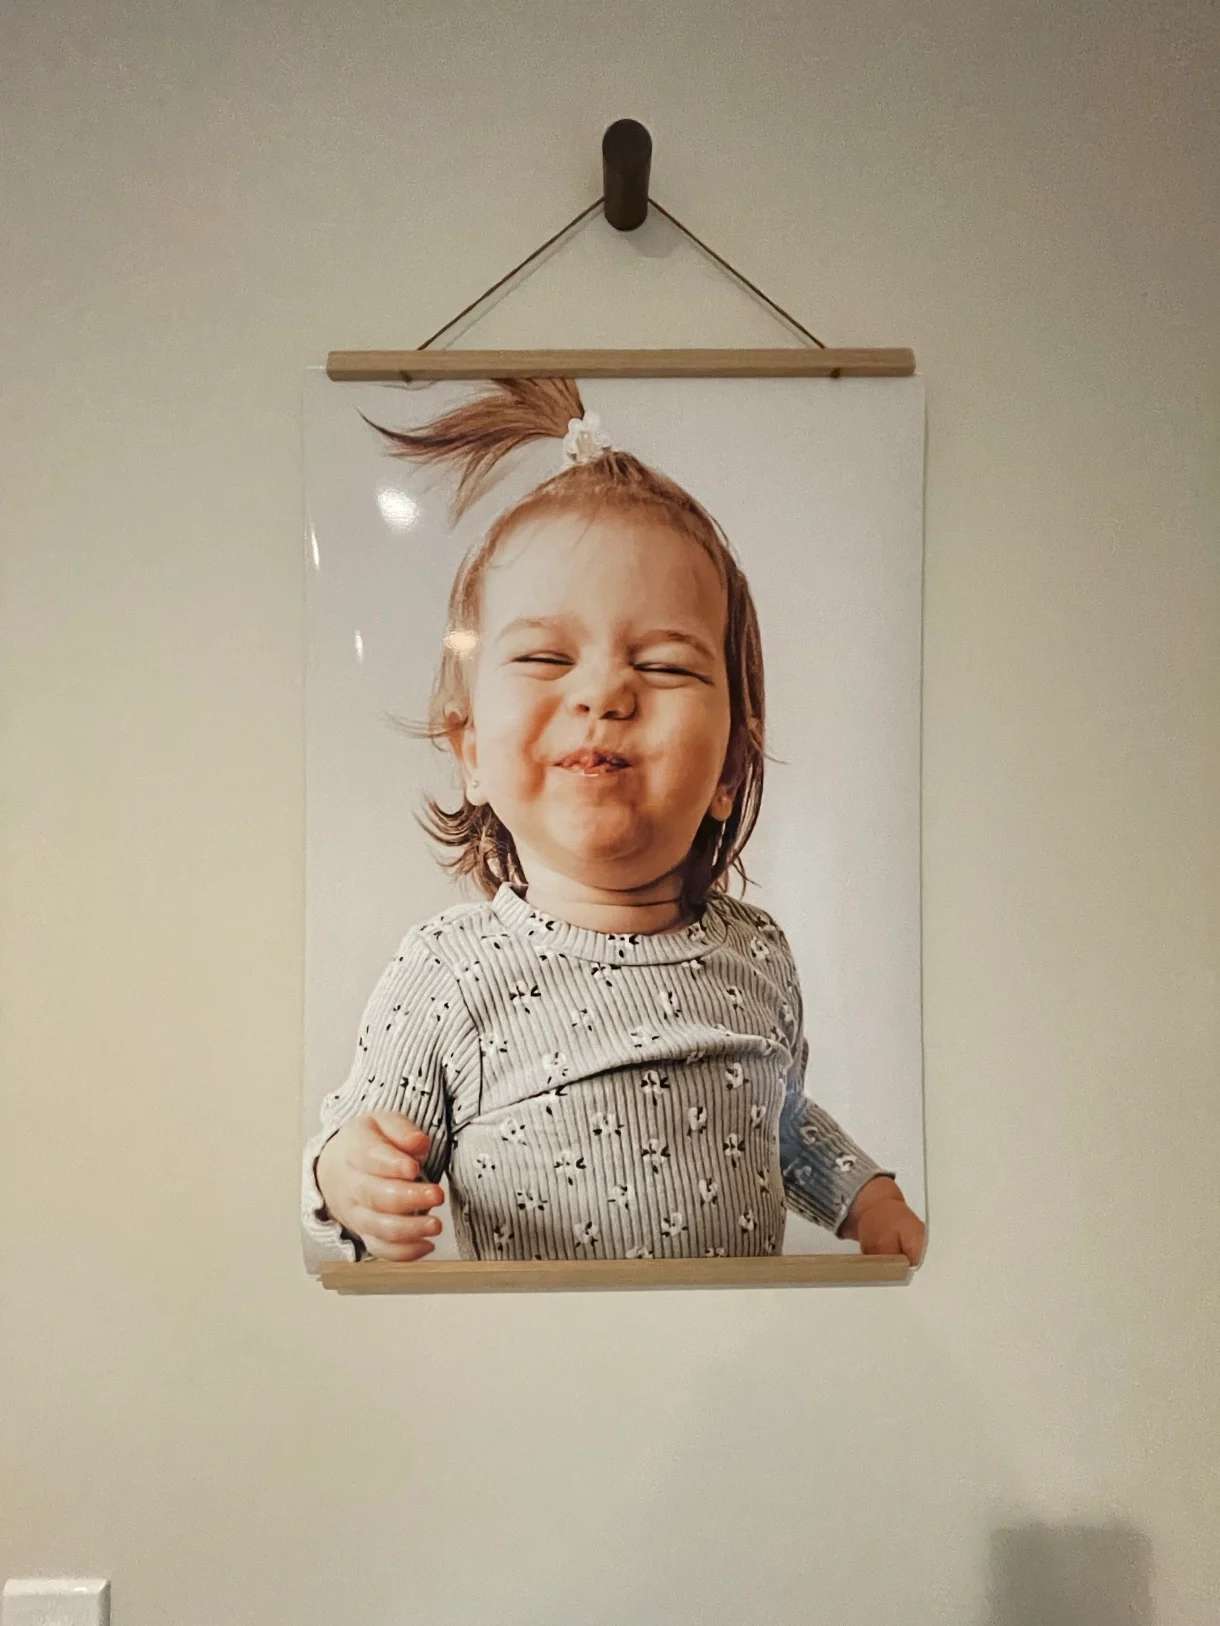
Have you seen those super-sized close-up portraits all of the influencers have hanging in their homes? They are BEAUTIFUL and I knew I wanted a set of my kids’ faces for their playroom. But, I figured it would require a professional photo sesh (love to do them, just not in the budget right now) and printing/custom framing.
I decided to try a little DIY and loved the results, so I wanted to share them with you! If you’re semi-handy with photo editing tools and have some shots on your phone that show off your kids’ personalities, you’ll be able to make your own DIY close-up portraits.
1 – Choose your photos
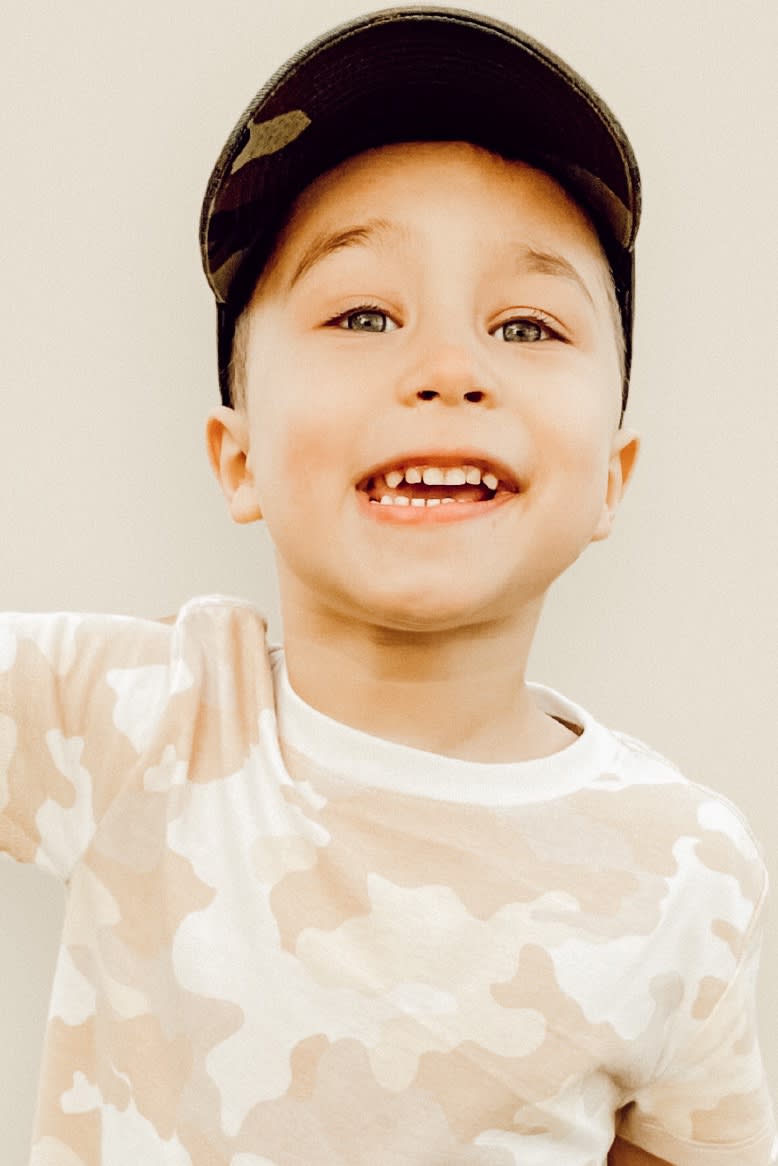
Find or take pics from your album with expressions that capture your kid perfectly. I opted for sweet and silly faces vs. a traditional smiling pic, but that matched the vibe of the playroom. If you’re hanging them in a more formal area, you can certainly do a more posed photo! It’s important that the pic is taken in good lighting with as high quality as your phone or camera allows. If you can’t get a clear resolution when you zoom in on the pic, it will be blurry when it’s printed in this large format. Here are the photos I chose:
2 – Remove the original backgrounds
These next 2 steps are optional – I like it when the gallery is cohesive, so I wanted to put them on the same flat background similar to a studio portrait session. I have a Canva premium subscription, so I was able to easily use the background remover tool. There are also sites like Fotor.com that will remove your background for free. If you use something like this, just make sure you save the new image as a .png file so the background will remain transparent.
3 – Add a new background and some shadowing
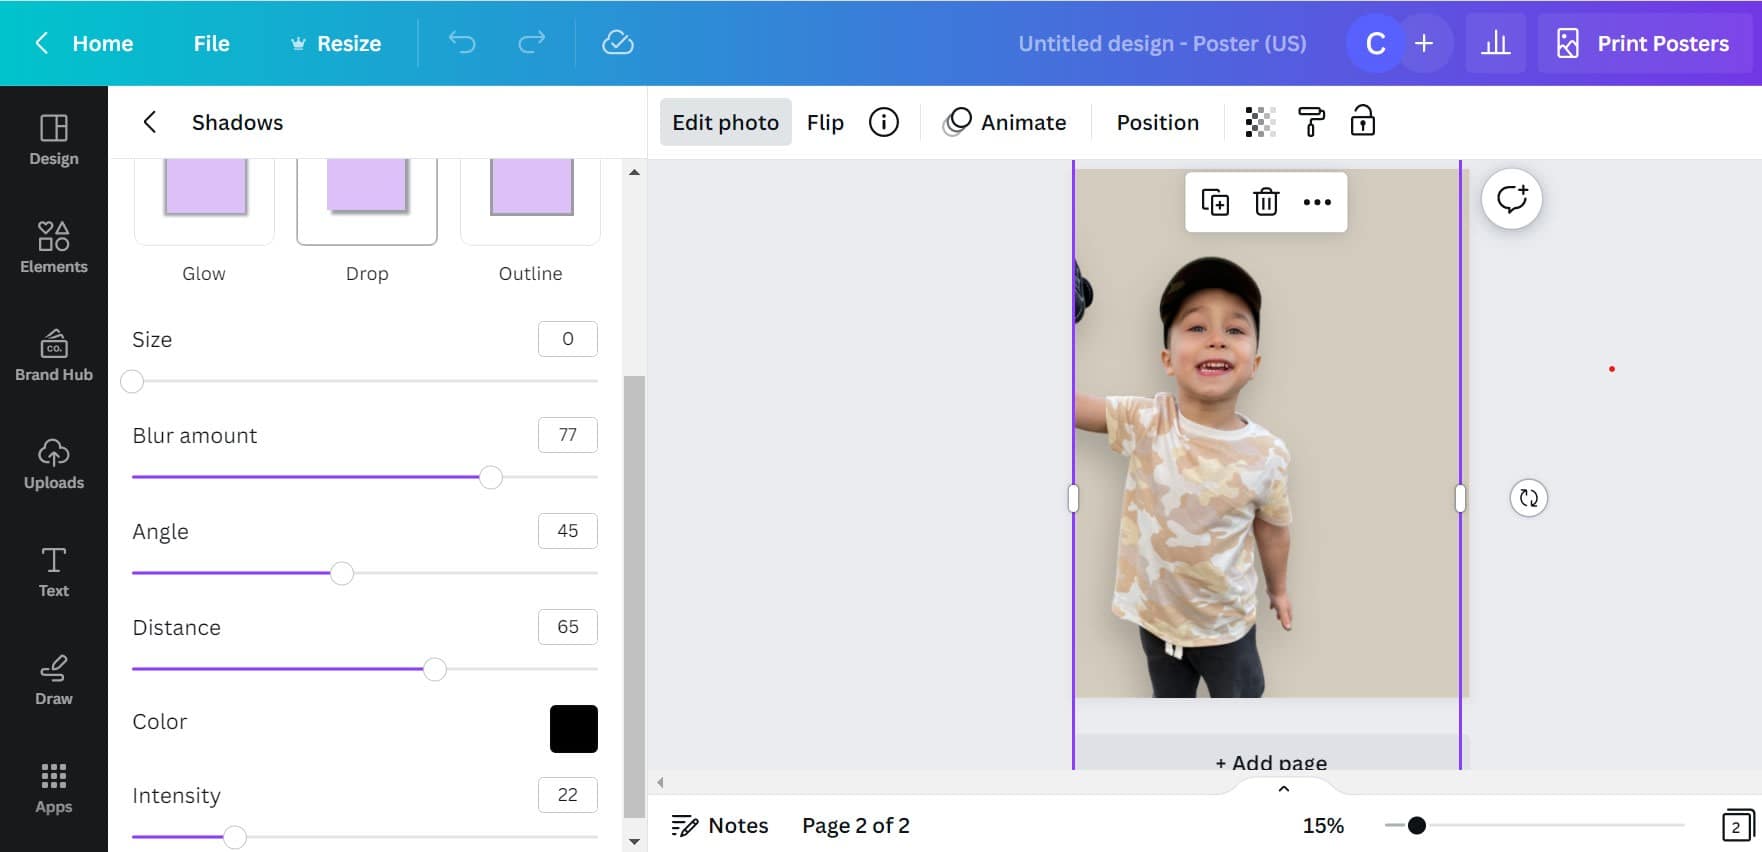
This step is only needed if you follow the step above. If you downloaded the cut out as a new image, you can upload to Canva’s free tool to do the rest of the editing. I used Canva to add a flat color to the background of the cutouts. I wanted to do Sepia tones for the portraits, so I chose a light cream background to work with that color scheme. I then used the Edit Photo>Shadows tool to add shadowing and make the photo look more natural against the backdrop. You can see the settings I used in the image below.
4 – Edit the new photo
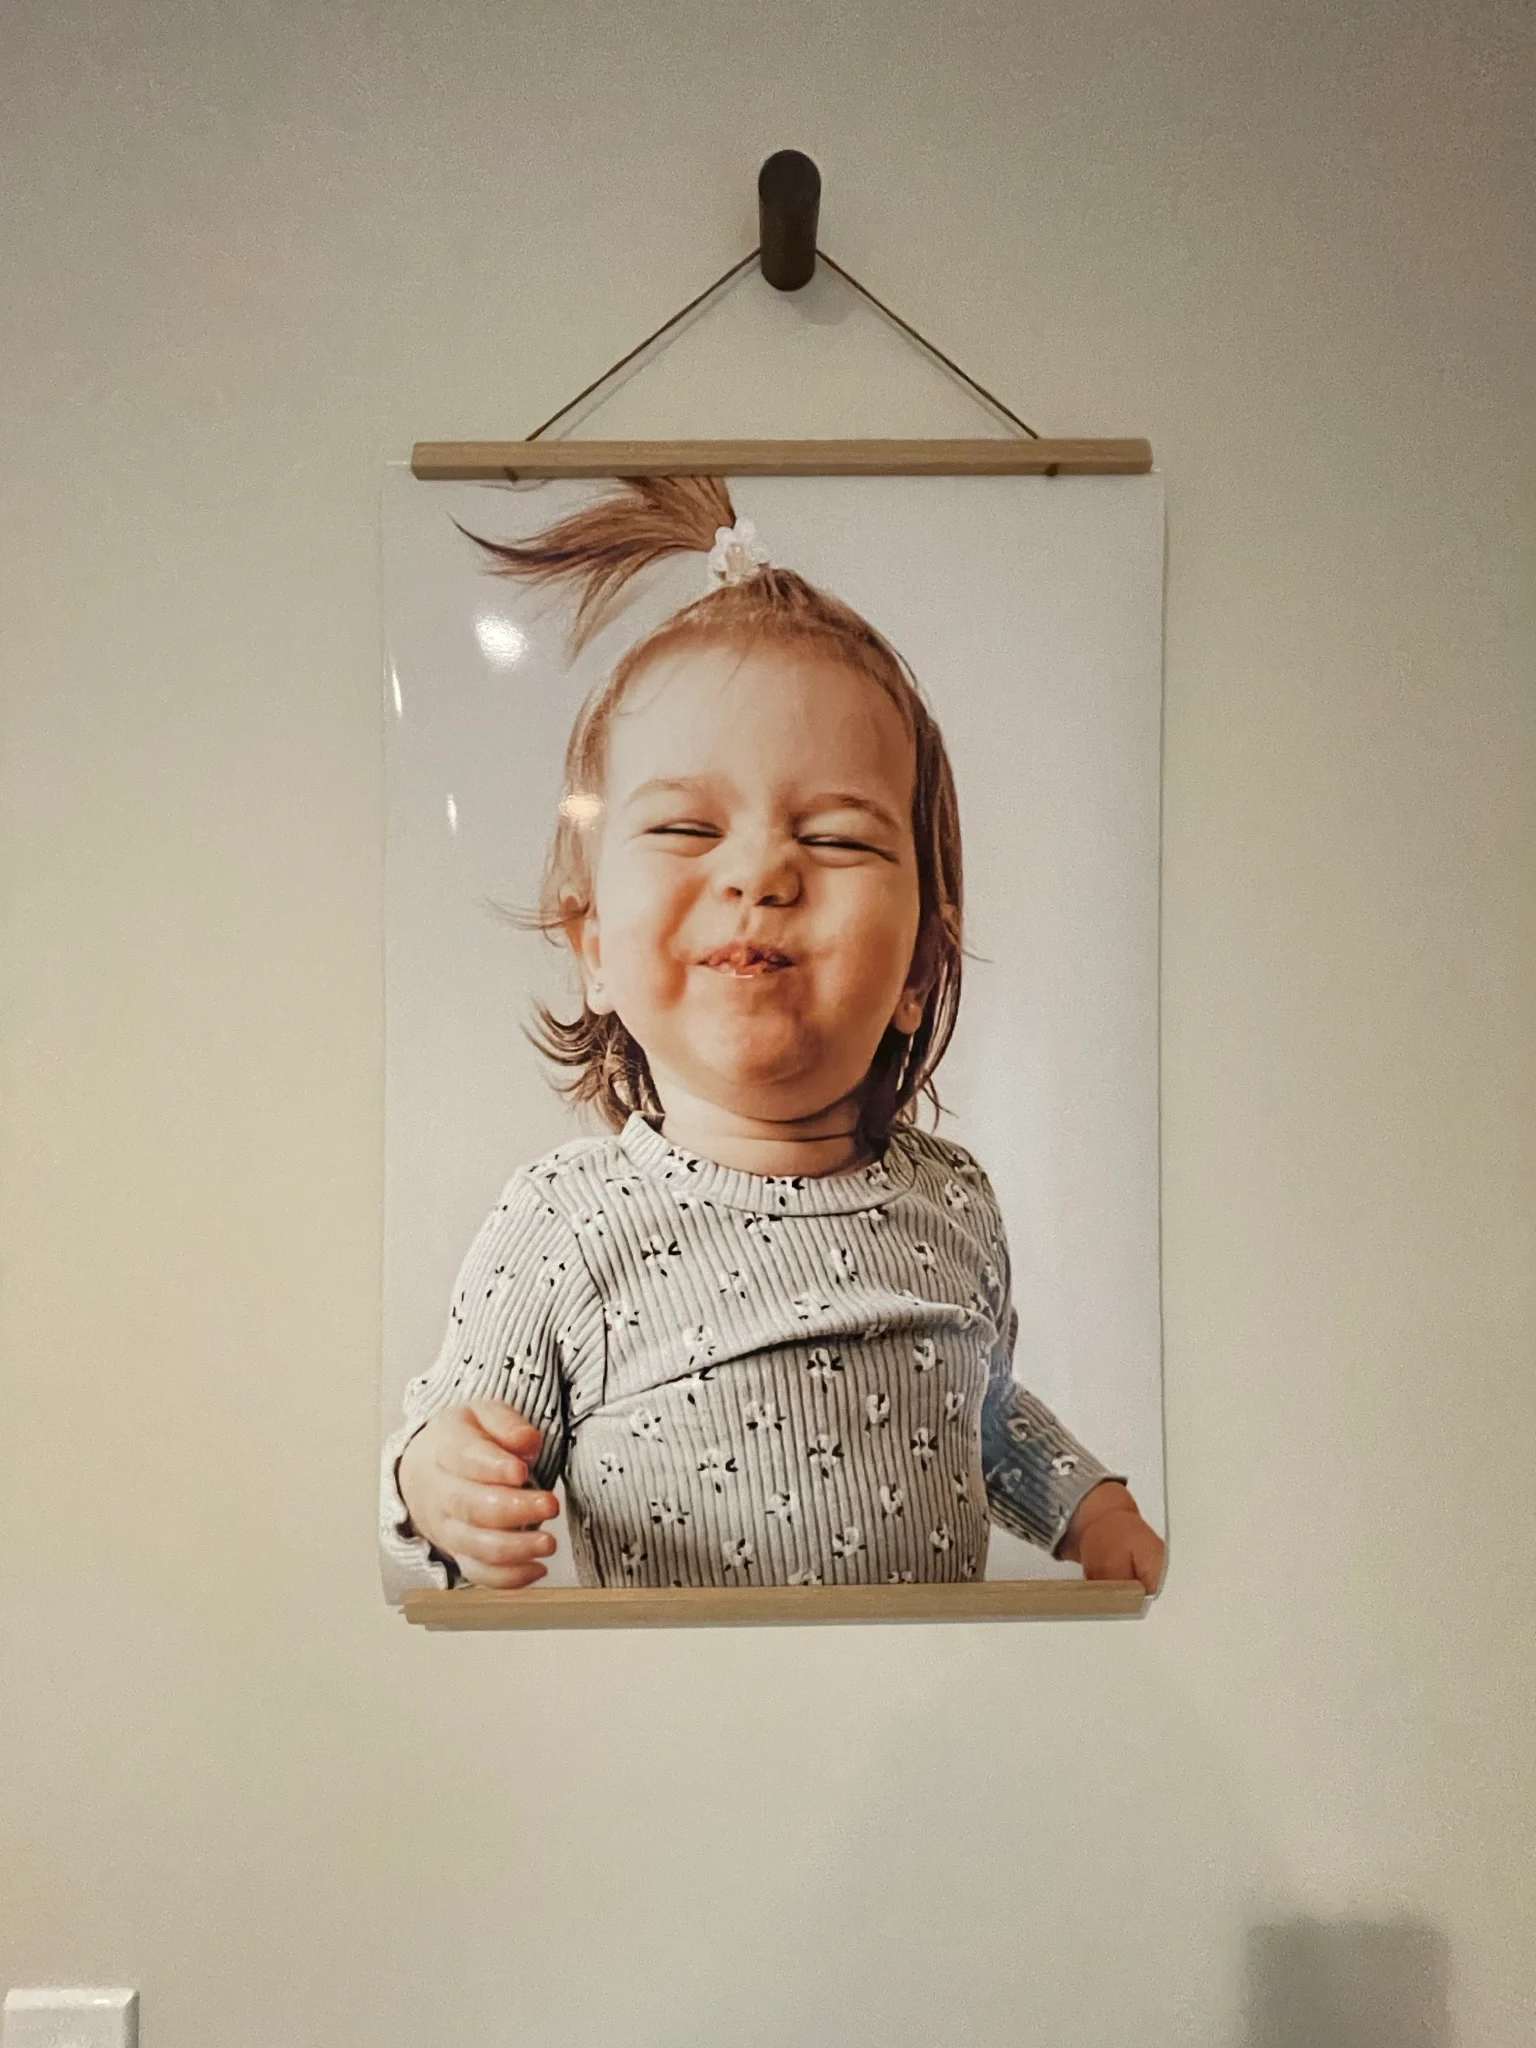
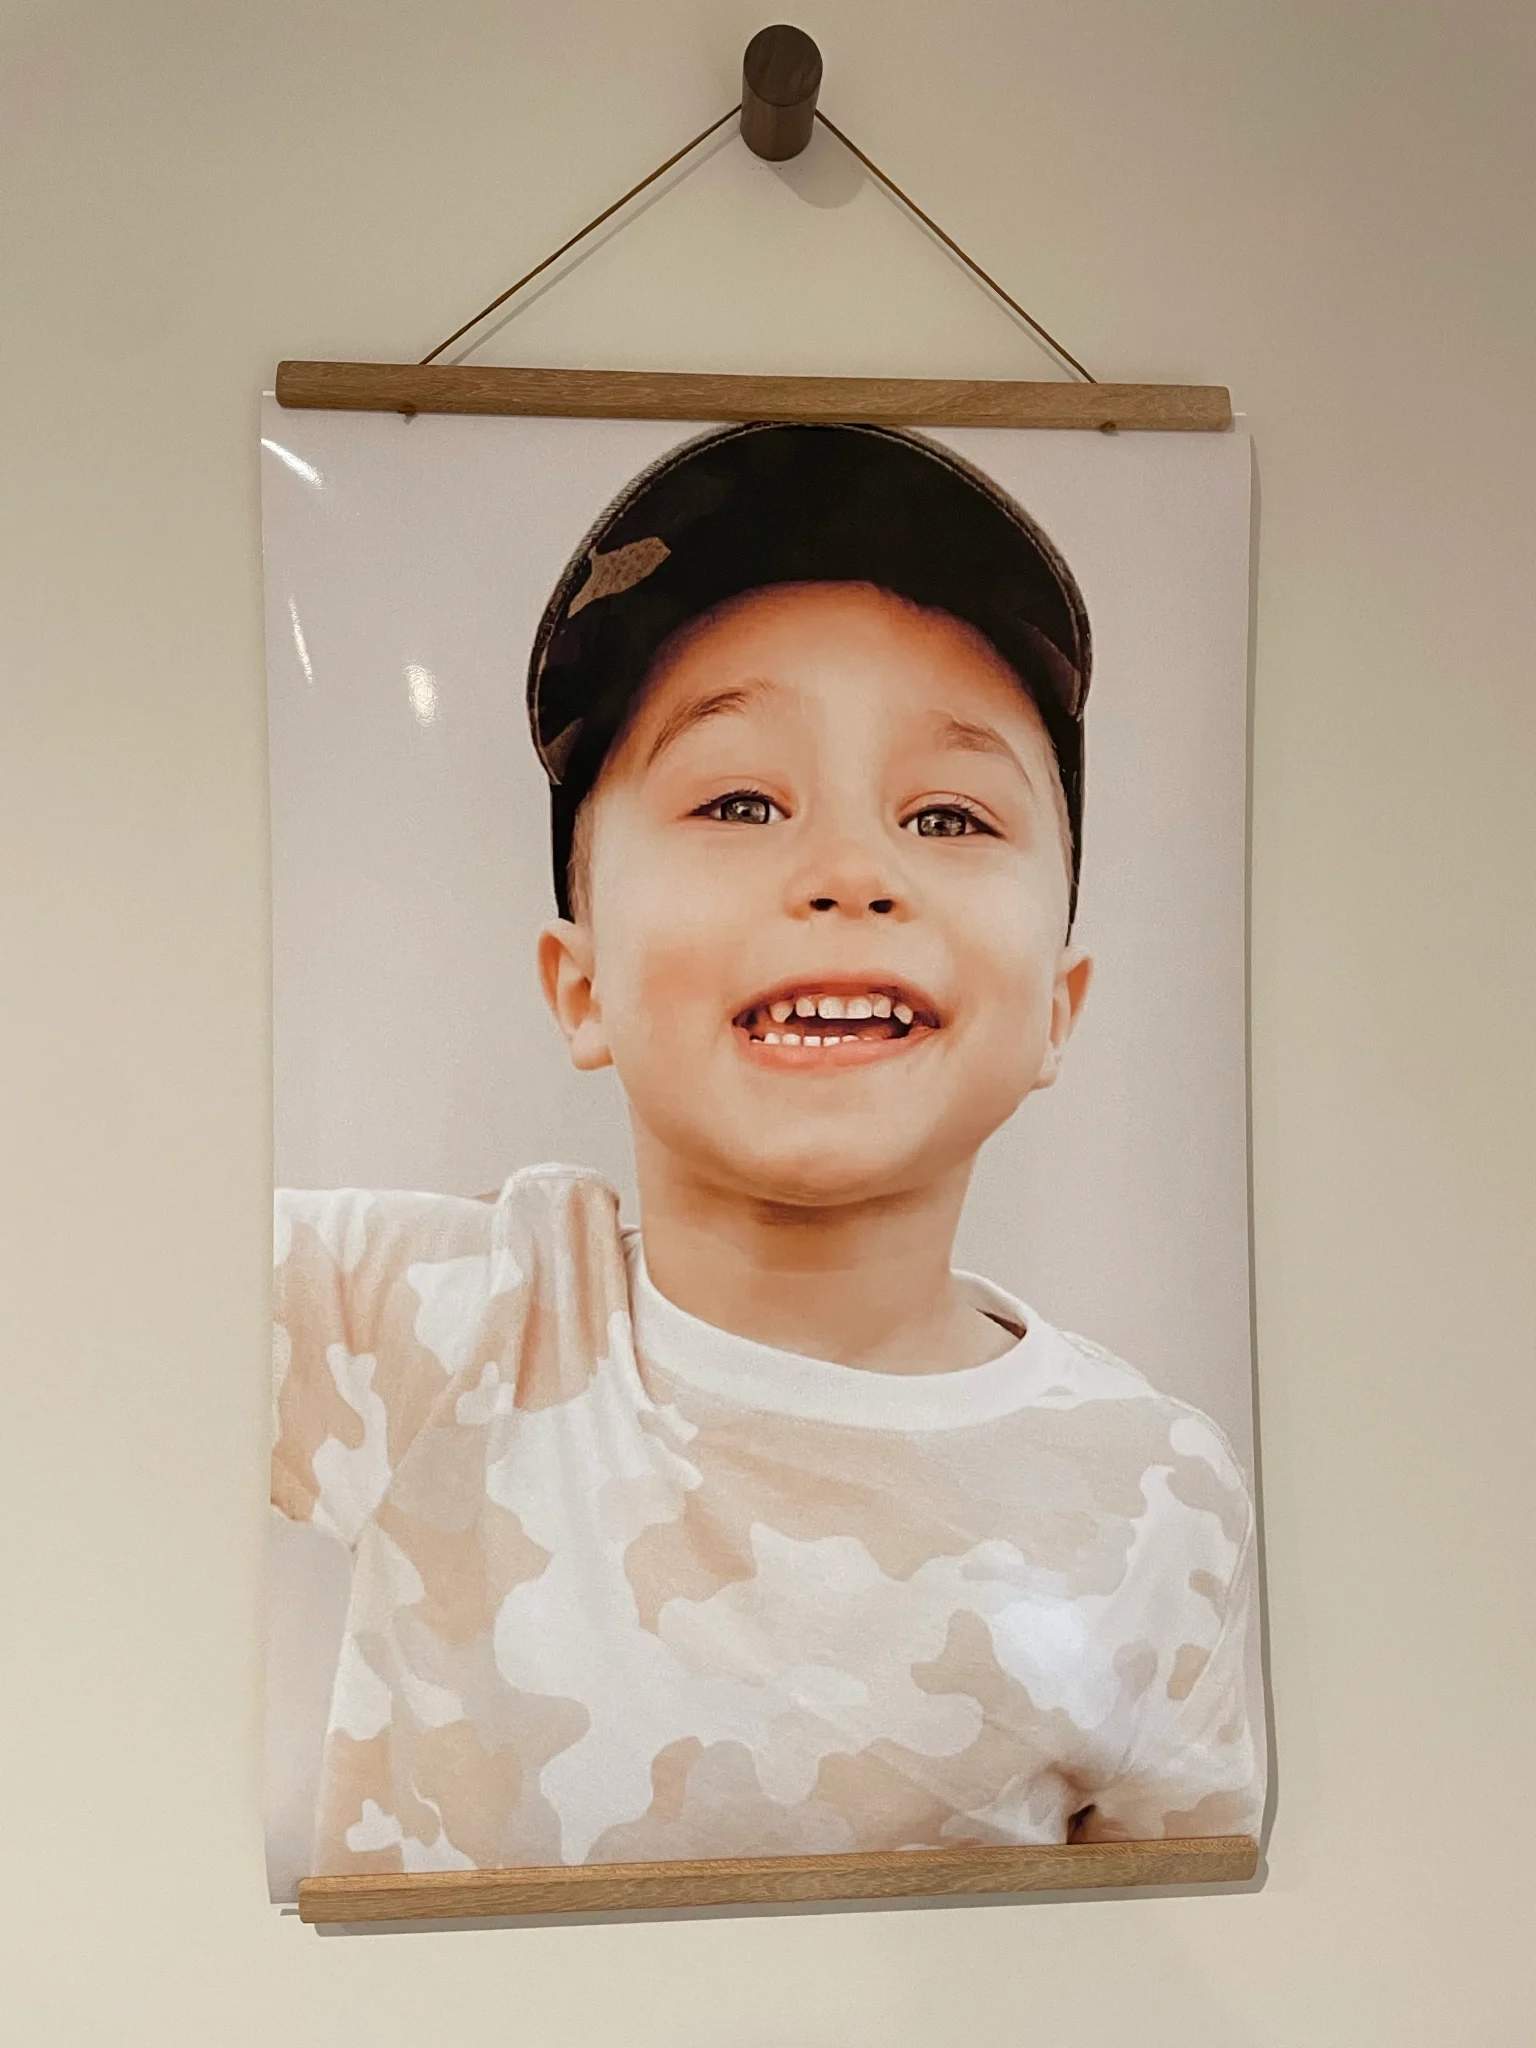
Now it’s time to make your pic look like a true professional portrait. You can stick with Canva and use some of the filters there, or can hop to a tool like pixlr.com. I personally subscribe to Adobe Lightroom (it’s only $5/month and I use it often for my real estate photos) so I saved the image from Canva, uploaded into LR, and used a preset. You can toggle the settings but take note of what you apply so you can do the same to any other prints if you’re making a gallery. Finally, crop the image so that you’re tight in on the face/upper half of the body. I used a 2:3 ratio so that the print would be on the long and narrow end.
5. Print and hang
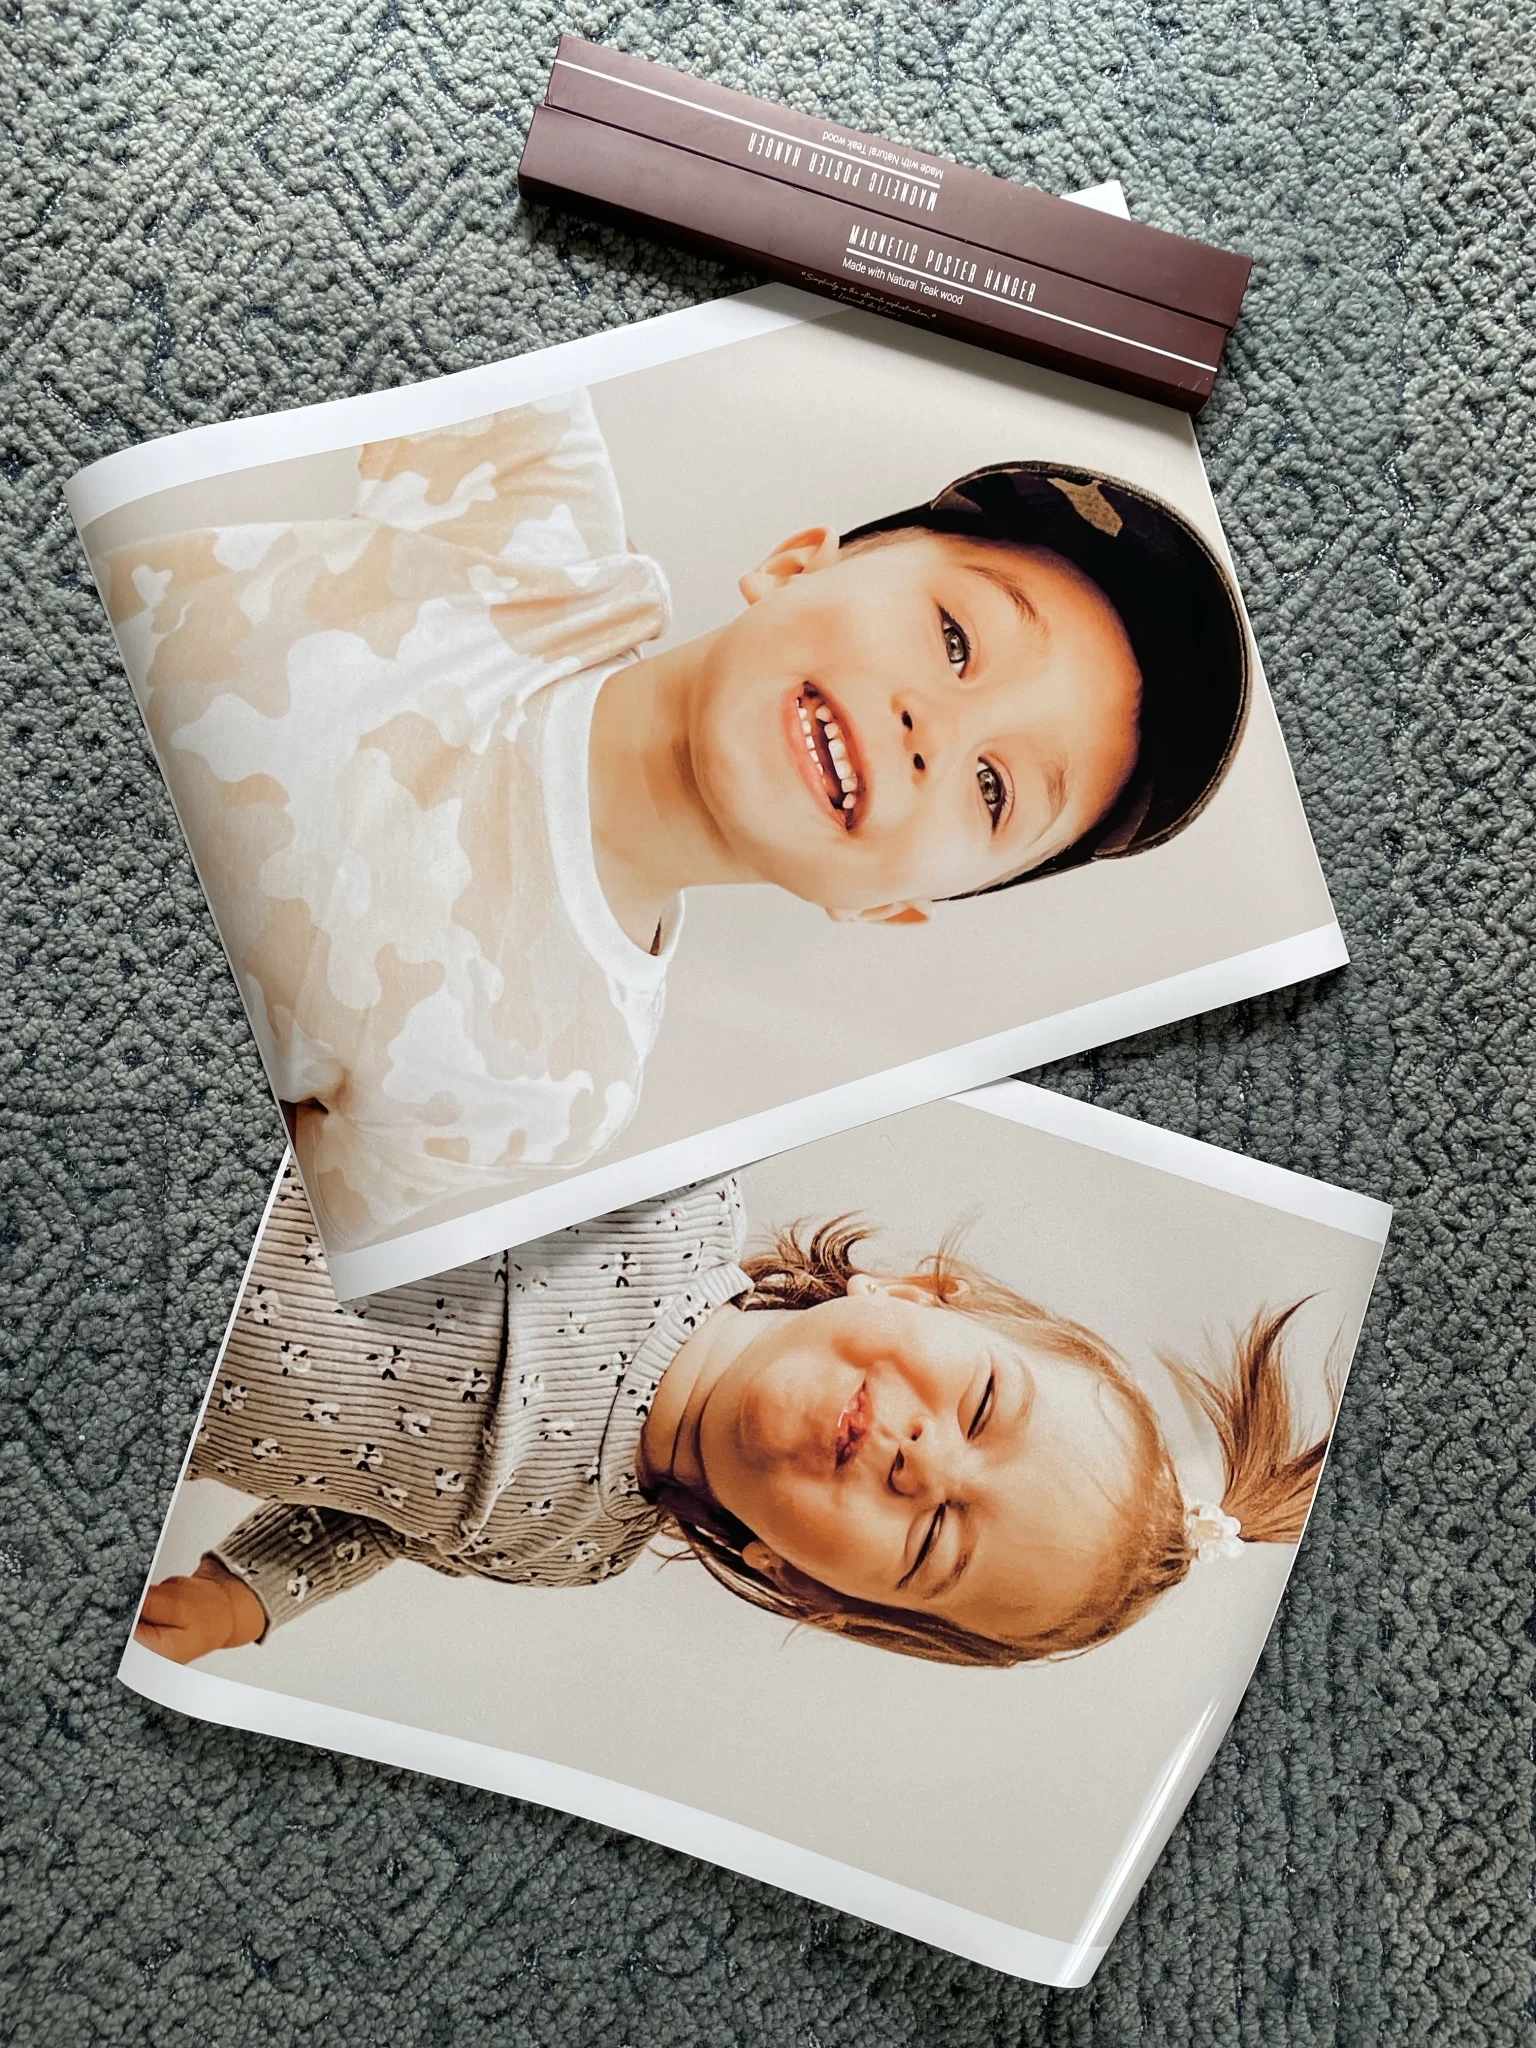
Once you’re happy with your images, you can ship ’em off to print. I printed poster-sized images directly through Canva, which allows for pickup at a local Staples. They were $25/ea for a large poster size, 18×24. Since this is a little wider than what a 2:3 ratio allows, I did have some white areas on the sides that I cut off after. To avoid this, you can crop in a 3:4 ratio, or you can do what I did and trim the sides before hanging. There are plenty of other sites that do photo printing if you do a quick search, but I’m an instant gratification junkie and wanted to pick them up ASAP.
To hang the prints, I bought these 18″ wide
magnetic poster hanging frames from Amazon. They have a natural wood look with a thin suede strap, and they snap on easily to the tops and bottoms of the prints. They also make it easy to swap pics out, which is perfect because my plan is to make new ones each year as the kids get older. I used faux wood knobs to hang these, but you can use virtually anything that will support 1lb of weight.


